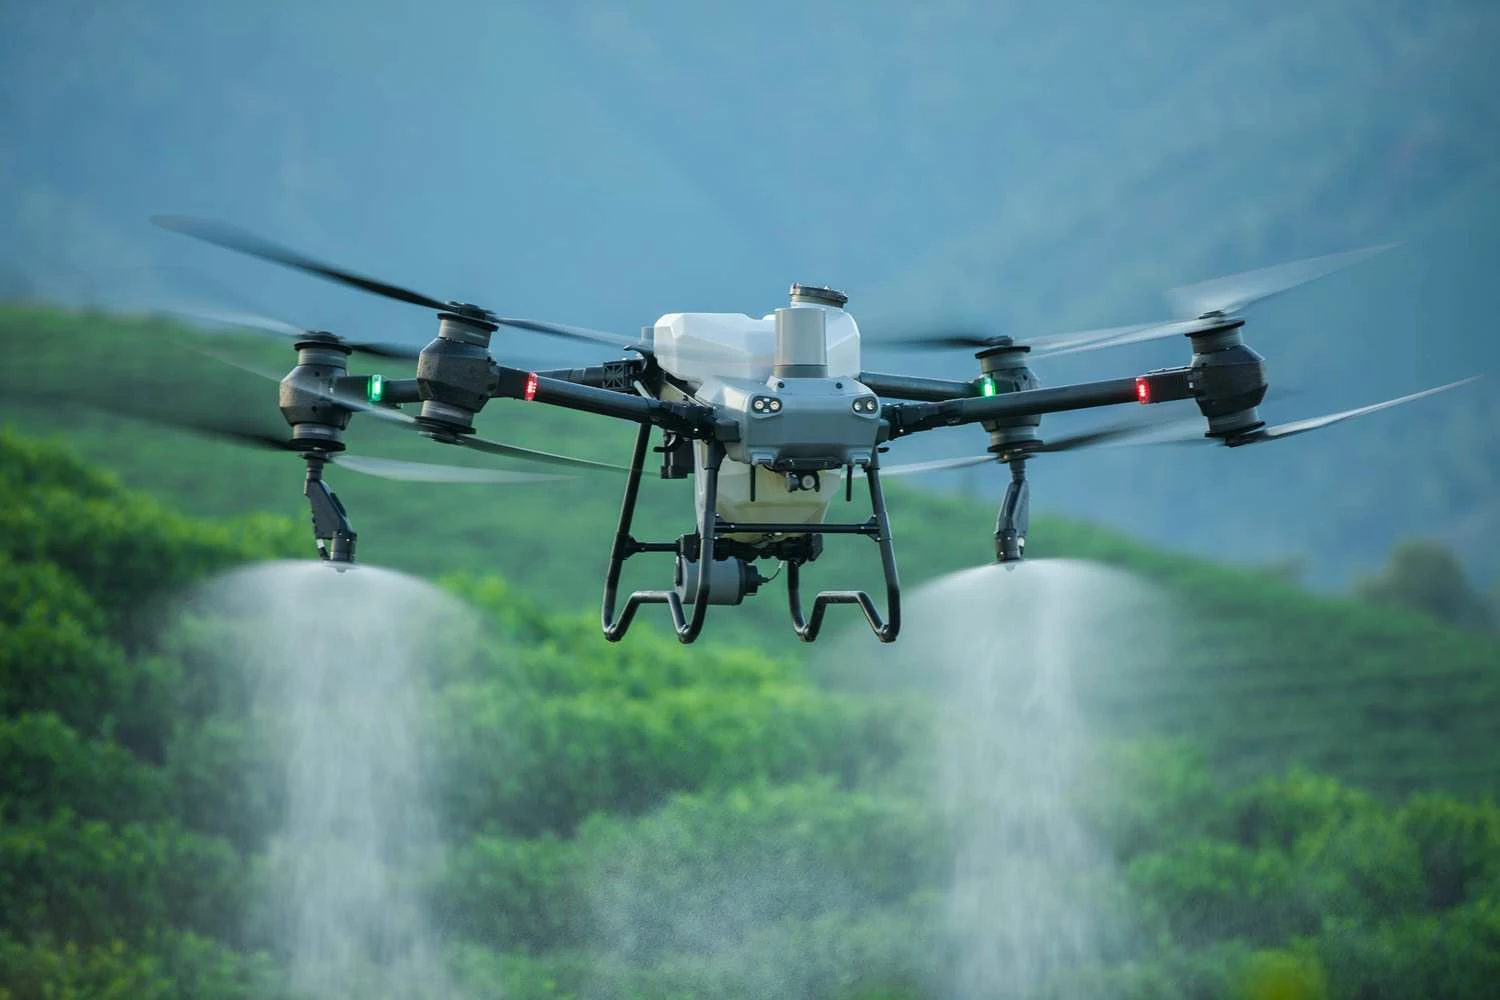
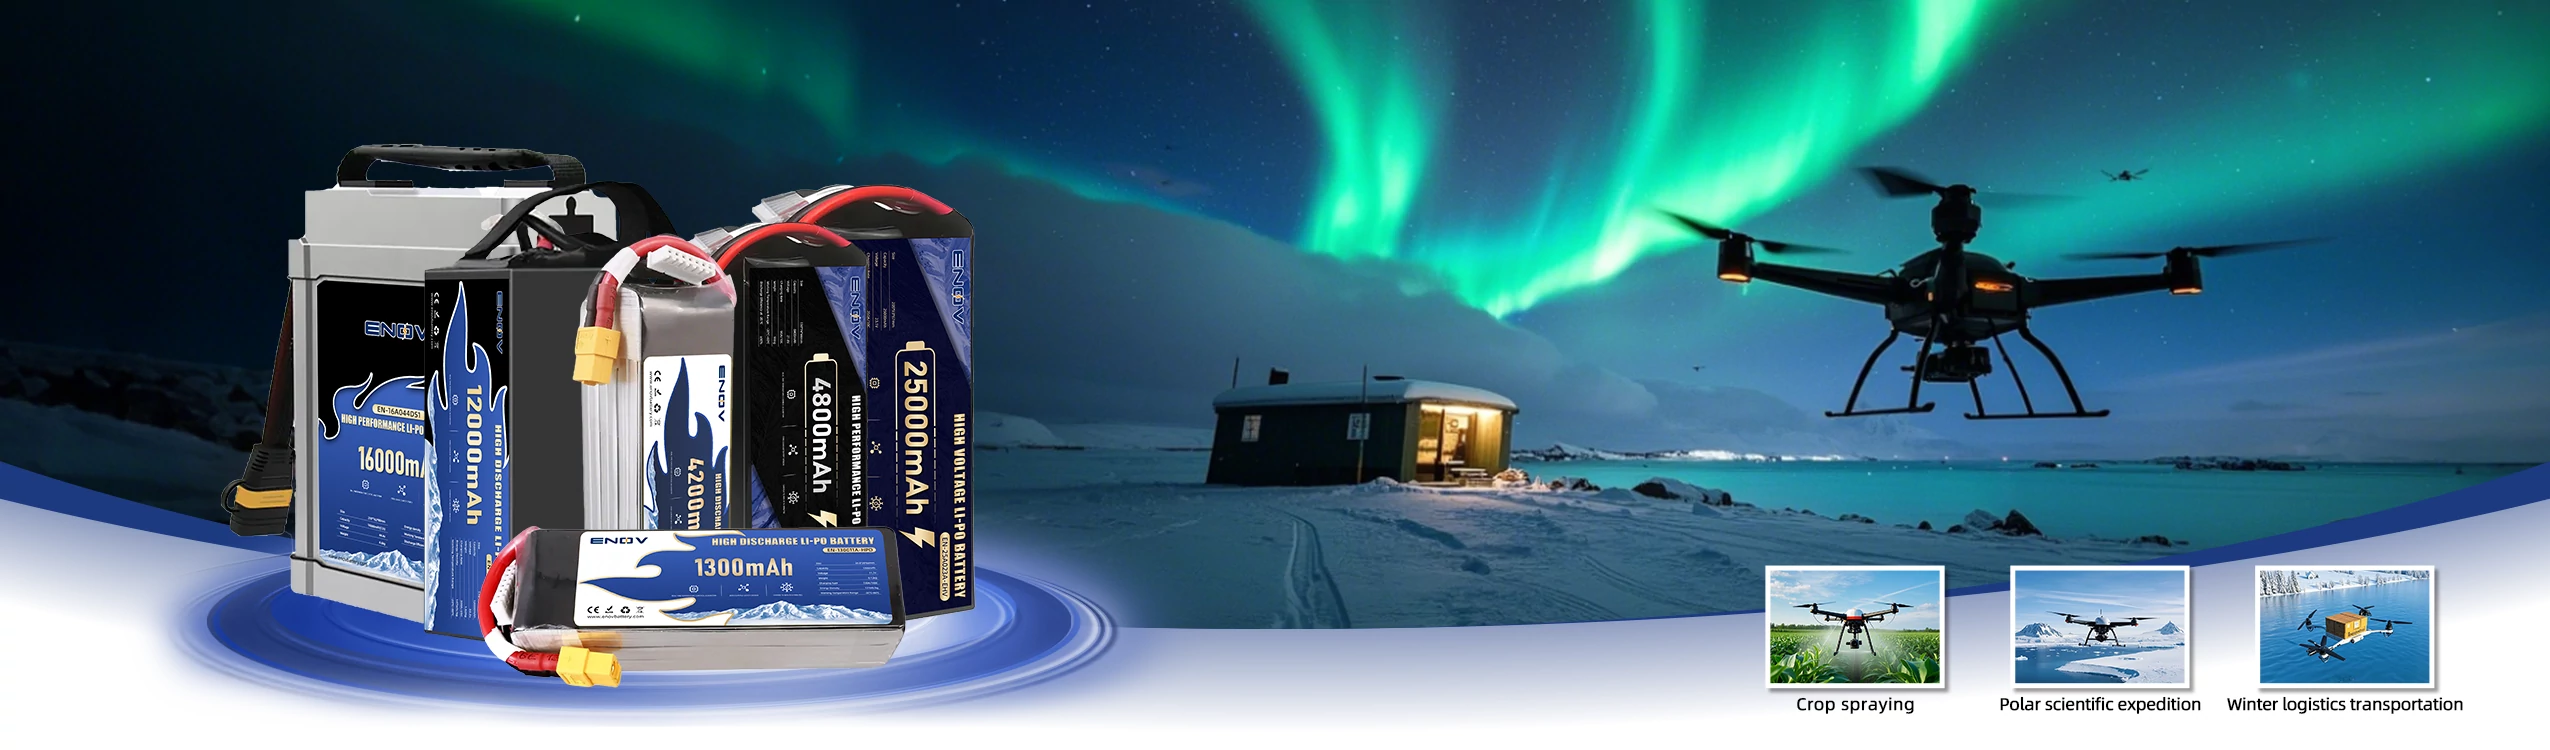
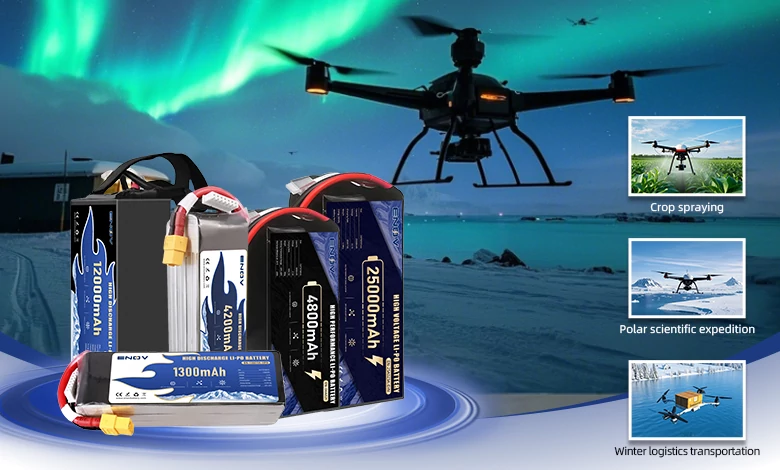
• +8613392026914
  • info@enovbattery.com
  • China

Analysis of Drone Battery Charging Failures: Causes, Troubleshooting, and Maintenance Solutions

Drone Battery

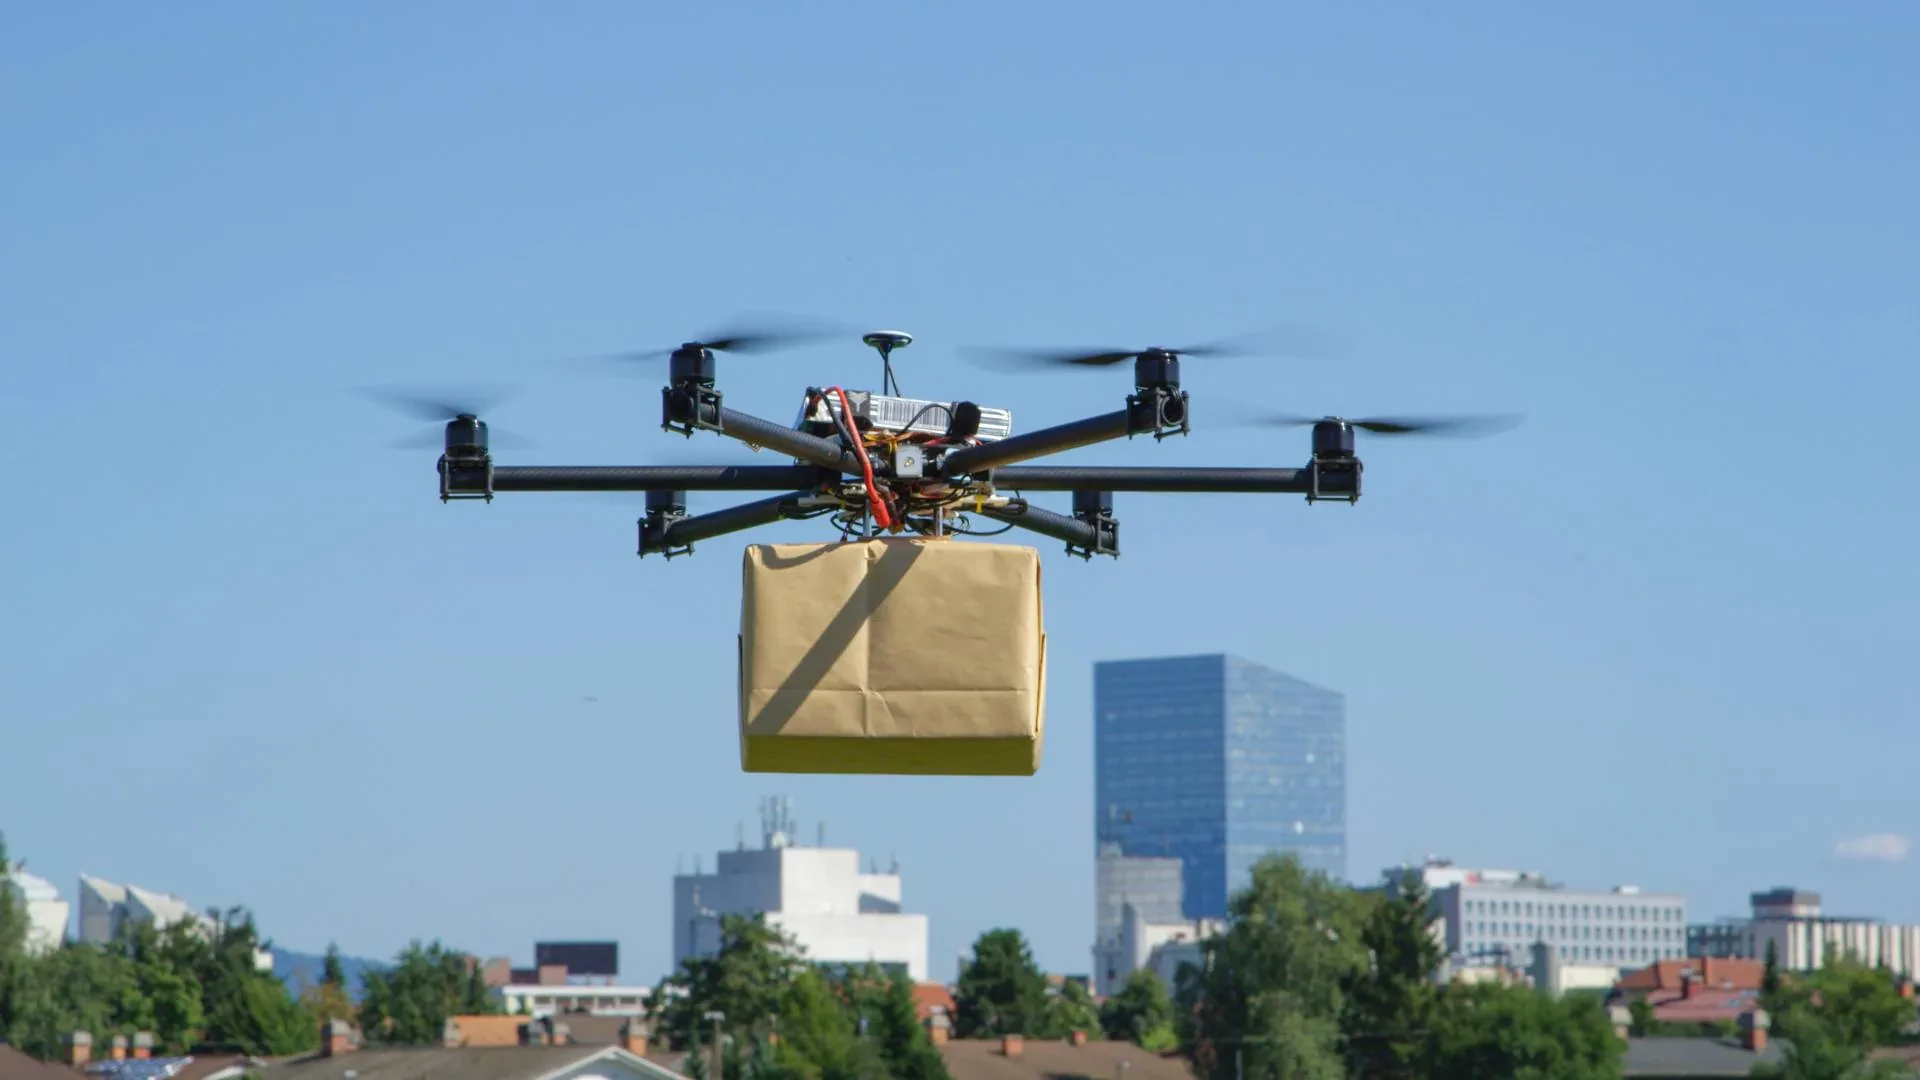
ENOV High-Energy drone batteries power industrial and commercial drones. Delivering 220–320 Wh/kg energy density, they enable long flight times (30+ mins) and support fast charging (2C). Perfect for aerial photography, surveillance, and delivery drones.

I. Core Cause Analysis of Charging Failures

The inability to charge a drone battery (mainly lithium-polymer batteries equipped with intelligent protection boards) is essentially due to “interruption of power transmission” or “triggering of protection mechanisms”. Specifically, it can be divided into four categories with sixteen scenarios:

1. Hardware Failures in the Charging Link

① Connector Abnormalities

Bent or oxidized metal pins in the charging cable or battery interface, or blockage by foreign objects such as fluff and dust, will cause physical connection interruption. For example, in interfaces that have not been cleaned for a long time, the oxide layer will form an insulating layer, blocking current transmission.

② Mismatched Accessory Specifications

Non-original chargers with voltage/current mismatched to the battery (e.g., the battery requires 12V/2A, but the charger outputs 5V/1A) will trigger the overvoltage/overcurrent protection of the battery’s protection board, refusing to charge. Inferior USB cables, due to their excessively thin wire diameter, cannot carry large currents (especially for high-capacity batteries), resulting in “intermittent charging” or complete failure to charge.

③ Damaged Chargers/Cables

Burned rectifier circuits inside the charger (indicated by no light when plugged in) or internal wire breakage in the charging cable (the appearance may be intact, but the core wire at the bent part is broken) will directly cause power supply interruption.

2. Battery-Specific Issues

① Protection Board Lockout

Suppose the battery triggers a protection board lockout due to over-discharge (long-term storage after full depletion), over-temperature (>60℃ or <10℃), or short circuit. In that case, it will enter “safe mode” and cut off the charging circuit. For example, when the battery voltage drops below 3.0V per cell, the protection board will estimate it as an “over-discharge risk” and prohibit charging.

② Cell Aging or Damage

Lithium-polymer batteries typically have a cycle life of 300-500 times. After aging, the cell capacity drops sharply, possibly leading to “full charge in only a few minutes and full discharge in a few seconds”. If the cells bulge, leak (electrolyte is viscous), or a single cell in a multi-cell battery is disconnected, charging becomes impossible, and there is a risk of explosion.

③ Poor Installation Contact

Failure to fully insert the battery into the charger or the aircraft’s battery compartment results in insufficient contact between the interface contacts. Loose battery latches in some models can also cause “false contact”, characterized by flashing charging indicators but no increase in power.

3. Environmental and Operational Interference

① Temperature Exceedance

The optimal charging temperature for lithium-polymer batteries is 15-35℃. Below 0℃, cell activity drops sharply, and the protection board triggers low-temperature protection. Above 40℃ (e.g., batteries just after flight), the internal chemical reactions of the cells intensify, and the protection board activates high-temperature protection to prohibit charging and prevent thermal runaway.

② Humidity and Corrosion

Long-term storage in high-humidity environments (e.g., seaside, rainy seasons) can cause moisture corrosion on the battery interface, forming an oxide layer. If the battery casing is damaged and water enters, it may cause a short circuit in the internal circuit, directly burning the protection board.

4. Software and Operational Errors

① Firmware Communication Anomalies

Incompatibility between the Battery Management System (BMS) and the drone’s firmware version can cause “communication interruption”, characterized by regular flashing of the charger indicator (e.g., DJI battery LED2 flashes 3 times per second), which can be resolved by upgrading the firmware through the official APP.

② Human Operational Errors

Failure to follow standard charging procedures (e.g., some models require connecting the power supply first and then the battery; reversing the order triggers protection) or accidental pressing of the battery power check button, which temporarily activates the discharge program, conflicts with the charging program.

II. Systematic Troubleshooting Process (with Operational Details)

Troubleshooting should follow the principle of “from simple to complex, from external to internal” to avoid risks caused by blind disassembly:

Step 1: Verify the Charging Link (5-minute quick check)

① Replacement Test: Charge the faulty battery with an original charger and cable of the same model, and charge a normal battery of the same model with the faulty charger. If “the original accessories can charge the faulty battery”, the original charger/cable is damaged; if “the faulty charger cannot charge the normal battery”, replace the charger directly.

② Clean Contacts: Wipe the metal contacts of the battery interface and charger plug with anhydrous alcohol swabs (do not use tap water), focusing on removing oxide layers and dust. Attempt charging after the alcohol evaporates (about 1 minute).

③ Check the Socket: Plug the charger into a known functional socket (e.g., one that can power a desk lamp) to rule out socket power failure or poor contact.

Step 2: Evaluate Battery Status

① Visual Inspection: Press the battery surface. If there is obvious bulging, cracked casing, or leakage, stop using it immediately. Follow the handling specifications for bulging batteries: seal them and hand them over to professional institutions for recycling; do not continue charging.

② Power Button Test: Press the battery power check button. If the indicator does not respond, the protection board may be locked due to over-discharge. If the indicator is on but no charge is received, further check temperature or contact issues.

Step 3: Address Environmental and Protection Status

Temperature Regulation: If the battery has just finished flying (temperature >40℃) or is in a low-temperature environment (<5℃), place it in a room at around 25℃ for 1 hour. Do not heat or refrigerate it; charge it after the temperature returns to normal.

② Over-discharge Activation: For batteries over-discharged due to long-term storage, connect them to the original charger and let them stand for 2 hours (some brand chargers support “low-voltage wake-up”, such as DJI chargers that slowly activate with a 0.1A current). If ineffective, contact the brand’s after-sales service for unlocking with professional equipment. Do not use high voltage for forced charging, as it may cause an explosion.

Step 4: Check Software and Compatibility

① Firmware Update: Check the battery firmware version through the drone’s supporting APP. If prompted “needs update”, follow the instructions to complete the update (some charging failures result from BMS program bugs, which can be fixed by updating).

② Cross-Testing: Install the faulty battery into a drone of the same model. If the aircraft indicates “battery failure”, the battery has an internal fault. If the aircraft shows no abnormalities, test with the aircraft’s direct charging function (supported by some models) to rule out charger interface issues.

Step 5: Professional Inspection

If the above steps are ineffective and the battery has no visible damage, the protection board circuit may be burned, or the cells may be disconnected. Send it back to the brand’s official after-sales service. Non-professionals are prohibited from disassembling, as short circuits in lithium-polymer batteries may cause fires.

III. Maintenance Plan for Maximizing Lifespan

80% of charging failures result from improper maintenance. Scientific maintenance can extend battery life by over 50%:

1. Charging Process Specifications

① Prioritize Original Accessories: Non-original chargers may lack “balanced charging” functions (multi-cell batteries require consistent power in each cell). Long-term use can cause cell imbalance, leading to “failure to charge” or a sudden drop in endurance.

② Avoid Over-charging and Over-discharging: Disconnect the power within 1 hour after the battery is fully charged; do not leave it on float charge for a long time. When flying, return with 20% power remaining to avoid triggering over-discharge protection due to full depletion.

③ Control Charging Environment: Place the battery on a well-ventilated, non-flammable surface (e.g., a table) during charging, away from curtains, carpets, etc., and keep it supervised to prevent overheating caused by charger faults.

2. Storage and Idle Management

① Power Retention Standards: For long-term storage (>1 week), discharge the battery to 50%-60%. At this state, cell self-discharge is slow, reducing the risk of over-discharge.

② Environment Control: Store in a dry, cool place (humidity <60%, temperature 15-25℃). Avoid direct sunlight (car interior temperatures can exceed 60℃ in summer, accelerating cell aging), proximity to heaters, or refrigerators (low temperatures cause electrolyte solidification).

③ Regular Activation: Check the power of stored batteries every 3 months. If it drops below 30%, recharge to 50%-60% to prevent over-discharge due to self-discharge.

3. Usage and Maintenance Details

① Temperature Adaptation: Avoid flying in environments <0℃ or >40℃. After low-temperature flights, let the battery stand for 30 minutes until it reaches above 15℃ before charging. After high-temperature flights, wait until the battery casing cools to room temperature (no obvious heat when touched) before charging.

② Physical Protection: Avoid battery impacts or punctures to prevent cell short circuits. Check the interface before and after each flight, and wipe off dust with a dry cloth, especially after outdoor flights.

③ Cycle Management: Record the number of charging cycles (can be counted via APP). After 500 cycles, closely monitor endurance. If the flight time drops to less than 50% of a new battery, replace it promptly, as aging batteries are prone to charging failures.

As shown above, most drone battery charging failures can be resolved through standardized troubleshooting. Scientific maintenance habits can fundamentally reduce problems. If the battery has irreversible damage (e.g., bulging, cell aging), it is recommended to replace it with an original battery to avoid flight accidents caused by trying to save costs.

UAV Drone Battery

UAV Drone Battery

Quick inquiry

Drop us a line, and we’ll get back to you within 24 hours.

Name